
AS43 – TDV6 EGR Blanking kit
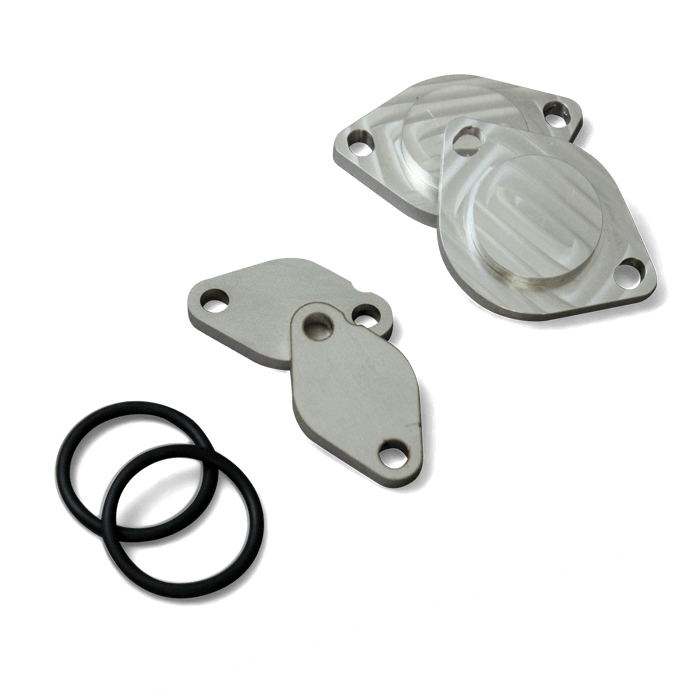
Fitting Guide
The kit is designed to be fitted to the EGR valves and the butterfly housing.
Two O-Rings are supplied, one of each is fitted to each of the butterfly housing blanks.
Our reference to right hand and left hand is as viewed by the driver.

1. Remove the engine cover
First remove the engine cover by gently pulling up on each corner.
Refit the oil filler cap.
View of engine with top cover removed – right hand EGR valve shown in inset.

2. Unplug
Unplug the EGR butterfly valve actuator and air box connectors.
Butterfly valve connector (lower) and air box connector (upper)

3. Remove air box clip
Remove the clip securing the air box to the EGR butterfly valve housing.
You can do this by inserting a screwdriver in the upper looped part of the clip and twisting.

4. Loosen jubilee clip
Loosen the jubilee clip securing the air inlet pipe to the right hand side of the air box then disconnect the pipe from the air box.

5. Air box lower bolt
Completely undo the bolt securing the lower part of air box and remove the air box.

5b. Air box removed

6. Remove cabling
Remove the cabling from the right hand and left hand EGR pipe brackets.
Remove the 8 mm bolts securing the right and left hand EGR brackets to the plastic casings.
Left hand EGR pipe bracket

7. EGR pipe clamps
Using a suitable screwdriver, unclip the EGR pipe clamps either side of the EGR butterfly housing.

8. EGR pipe flange bolts
Remove the 2x8mm headed bolts securing each EGR pipe to its valve and remove both pipes. Undo both bolts completely and carefully pulled each pipe out, with the bolts in the pipe flange
9.
Now to fit the blanking plates to the valves. There is a small ‘indent’ in each plate that matches an indent in each pipe flange.
Tighten both bolts and then repeat the procedure for the other valve blanking plate. The arrow in the photo below shows the indent in the left hand EGR valve.

10. Removing the butterfly
Right, now for removing the butterfly from the actuator shaft!
Remove the long bolt securing the butterfly housing (circled in yellow in the photo). Once that’s out, carefully raise the front of the butterfly housing.

11. Raising the butterfly housing
It will swivel where circled but don’t go much or you’ll break the plastic that is holding the connector(arrowed) to the back of the ‘Y’ shaped duct like how I did!
Now remove the 4 TORX screws securing the actuator to the butterfly housing and remove the actuator.